moisture
and
Floor Failure
Sub-Floor moisture is one of the leading causes of flooring failure. Many of the hard surface options available today, have added levels of moisture protection. Most water-proof vinyl plank options comes with attached rubber backing that helps to fight against excess moisture and many installation instructions also call for additional, plastic moisture barrier be installed over specific types of subfloors. These features are meant to add an additional layer of protection to your flooring. Although they are incredible effective, excessive moisture from your subfloor can still be a danger to your floors in certain instances. If the moisture coming from your subfloor is not proper addressed or gets too high, it can lead to cupping or warping of your flooring. This can be a costly issue to address, so it’s best to do your research and take whatever steps you can to help prevent moisture damage. Below are some things to keep in mind and a few key ways to help protect your flooring.
What causes subfloor moisture issues?
- Lack of Moisture Control: Lack of moisture control can mean your subfloor is constantly exposed to moisture. Moisture control is essential in minimizing the amount of moisture that seeps into your subfloor. Below are some common reasons that your home may lack moisture control
- Building Not Enclosed: During construction, if a building isn’t enclosed properly or there is no HVAC installed, the concrete may not get a chance to dry properly due to exposure to the elements. This can prevent the subfloor from releasing moisture and reaching correct moisture levels. This is something to consider when working with a new construction or remodel involving a new subfloor.
- Lack of Vapor Barrier: A vapor barrier is an underlayment, typically a plastic sheeting, that is installed under the subfloor prior to installation. The vapor barrier is meant to keep moisture from the ground from being absorbed into the subfloor. A subfloor without a vapor barrier is also subject to dramatic changes in moisture levels, depending on the time of year and the weather. This can make it hard for your installer to get an accurate moisture reading for installation. A subfloor that falls within the accepted moisture range during the summer, may see a big change in moisture levels during the raining season, leading to issues with your flooring.
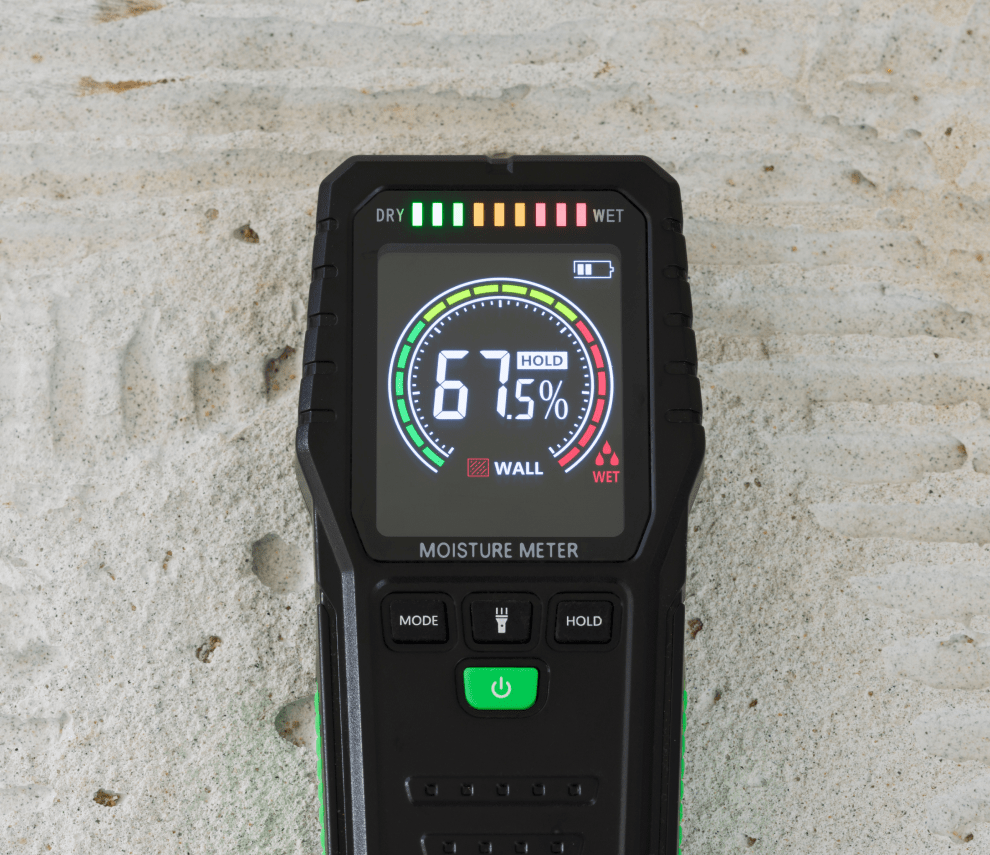
- Untested Subfloor Material: Most flooring installation guidelines for hard surface flooring, will indicate the need for a moisture test of your subfloor prior to installation. Your installation should always complete this moisture test before installation. This will also help with your warranty down the road. The moisture reading must fall within the appropriate levels outlined in your installation guideline to maintain you warranty.
Addressing subfloor Moisture
- Identify the source of moisture: In order to proper address moisture issues, you must first find the source. The solution may change, depending on the source of your issue.
- Allow the subfloor to dry: When removing your current flooring, if you find high levels of moisture in your subfloor, allow a few days for it to dry out can help you prevent issues down the road. If the sub-floor is really wet, you can bring in fans to help speed up the drying process.
- Moisture Barrier: Adding an additional plastic moisture barrier under your floor, can make all the difference in the longevity of your flooring. In fact, many hard surface installation guidelines require moisture barrier be installed over concrete subfloors to maintain the warranty coverage. Although wood subfloors are also subject to moisture issues, they are more common in concrete subfloors.
- Prevention is key: Any steps you can take before you lay your floors down to help prevent moisture from effecting your floors is key. It is easier to prevent moisture issues than it is try to address them after they’ve ruined your floors. Do your research and look for every step you can take to help.
What does a good subfloor look like?
- Structurally sounds: A beautiful, long-lasting floor begins with a solid subfloor. A solid subfloor must be structurally sound in order to provide the best support to your flooring. It should be free of damage, with no weak spots, rot or other issues that could contribute to instability. It should be properly secured to the joists to prevent movement. The better the condition of your subfloor, the less chance for issues to arise.
- Cleanliness: It is important to properly clean your subfloor and remove any debris from your subfloor. Any dust or particles left on your subfloor can get in the way of any adhesive or underlayment used for your installation. It can cause an uneven surface and compromise the overall performance of your flooring. Make sure to do a proper cleaning following the removal of your existing flooring. Anything left behind can cause future issues.
- Subfloor must be level: Uneven subfloors can cause a number of problems with your flooring. A flat, even subfloor is essential for performance, especially with installation of hard surface. Any low spots can allow for too much movement in the planks of your flooring and lead to undue stress on the joints and cause breakage. Ensure to have you contractor complete any necessary subfloor repairs prior to installing your flooring for the best results.
Subfloor Moisture
Water Defense Pro
TEC Water Defense Pro forms a smooth, monolithic watertight surface over walls, floors and ceilings. TEC Water Defense Pro stops
Bonded waterproofing and vapor-retardant membrane
Schluter®-KERDI is a pliable sheet-applied waterproofing membrane and vapor-retarder designed for the direct application of tile. KERDI is ideal for
HYDRO BAN®
HYDRO BAN is a thin, load bearing waterproofing/crack isolation membrane that does not require the use of fabric in the
Bostik’s BEST®
Bostik’s BEST is a high-performance urethane adhesive and moisture control membrane that provides a tough, flexible bond to a variety of surfaces.
Moisture
Prevent Moisture Damage: Control Concrete Floor Moisture
Moisture coming through concrete floors is a common yet serious issue that can lead to costly damage, including warped flooring,
How to Fix and Prevent Subfloor Moisture Problems – Bessemeter
Imagine this: you install a gorgeous hardwood floor. Your client is so happy with the new flooring, and so are
Moisture
Wood Flooring Q&A: Which Self-Leveler Should I Use Underneath Moisture-Resistant Adhesive?
Does it matter what self-leveler I use underneath my moisture-resistant adhesive? Shane Jenkins, director of technical training and development at
Get in
touch
We’d love to hear from you! Whether you have a question, feedback, or just want to say hello, feel free to reach out. Your thoughts are important to us, and we’re here to assist you. Connect with us today and let’s start a conversation!


